
Chair Yoga for Better Balance
My neighbour is 71 and she stopped walking to the corner shop last winter. Not because her legs were weak — she still gardens every morning — but because of one icy patch and one bad wobble. After that, every pavement felt like a test she might fail. Confidence, not strength, was what she lost. If that sounds familiar, this chair yoga for balance routine is for you.
That is the part most balance advice misses. Balance is not a single skill you either have or you don’t. It is a small set of habits: feet that feel the floor, ankles that react, a core that wakes up before you move, and — this is the overlooked one — the calm to not panic when you sway. A sway is normal. A panicked grab is what turns a sway into a fall.
Chair yoga trains all of it without ever asking you to stand on one leg in the middle of a room with nothing to hold. The chair is always there. That is the whole point.
Two honest notes before we start. First, this is general wellness information, not medical advice: if you have a diagnosed balance disorder, frequent dizziness, or you have fallen more than once in the past year, check with your doctor before starting, and stop immediately if you feel dizzy at any point. Second, nothing here should hurt. A gentle effort is the goal; pain is a stop sign.
Why Balance Fades — and Why It Comes Back: chair yoga for balance
Balance fades for ordinary reasons, not dramatic ones. We sit more than we used to. Shoes got thicker and softer, so feet feel less of the ground. Ankles stiffen when they are never asked to move through their full range. And after one scare — an icy pavement, a trip on a rug — many people quietly start moving less, which makes everything above worse. It is a slow loop, and it runs in both directions: move less, feel less steady, move even less.
The good news is the loop reverses just as quietly. Feet that press into the floor every day start sending better signals. Ankles that circle and rock daily react a fraction faster. Legs that practise standing up slowly get stronger at exactly the moment they need strength. None of this requires athleticism. It requires repetition — the same small moves, done most days, at a speed that lets your body actually learn.
One more thing worth saying plainly: wobbling during practice is not failing. A wobble you catch with a fingertip on a chair is your balance system doing its job and getting better at it. The goal is not to never sway. The goal is to sway, notice, and recover — calmly, without panic. That recovery is the skill.
Setting Up: 2 Minutes That Matter
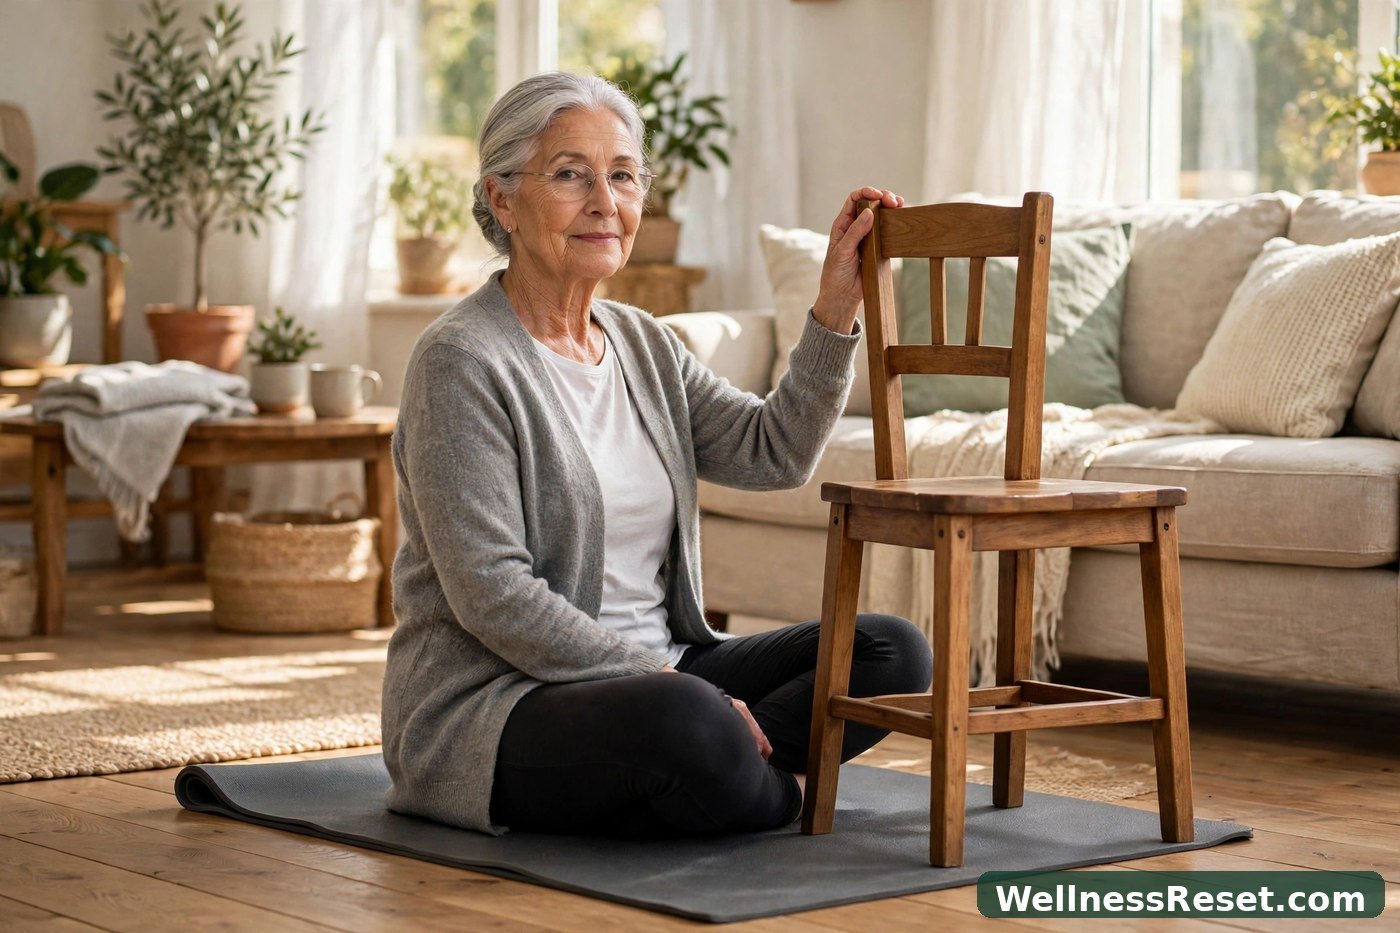
The chair: sturdy, no wheels, no arms if possible. Dining chairs are usually perfect. Put it against a wall or on a mat if your floor is slippery.
Your position: for seated moves, sit toward the front half of the seat, both feet flat on the floor, hip-width apart. Wear shoes with grip or go barefoot — socks on a smooth floor are a slip waiting to happen.
The rule for the whole routine: move at half the speed you think you need. Balance improves when the body has time to notice where it is. Rushing teaches nothing.
The 7 Moves
1. Seated Foot Presses (2 minutes) — Sit tall, feet flat. Press both feet firmly into the floor for a count of 5, then release. Repeat 8 times. Then press one foot at a time, alternating, 8 times each side. Best for: anyone who feels unsteady the moment they stand up.
2. Seated March (2 minutes) — Hands resting lightly on your thighs — not gripping. Lift your right knee a few inches, lower it slowly, then the left. Keep going for 2 minutes, breathing normally. The trick is the lowering: slow lowers train control. If your knees complain, lift them lower. Best for: hip strength and the step-up motion you use on stairs and kerbs.

- Ankle Circles and Heel-Toe Rocking (2 minutes) — Circle each ankle 5 times each way, then, feet flat, lift both heels high for 2 seconds and lower. Follow with toe lifts, heels down. Ten rounds. Best for: ankle stiffness, circulation, and quicker recovery from small trips.
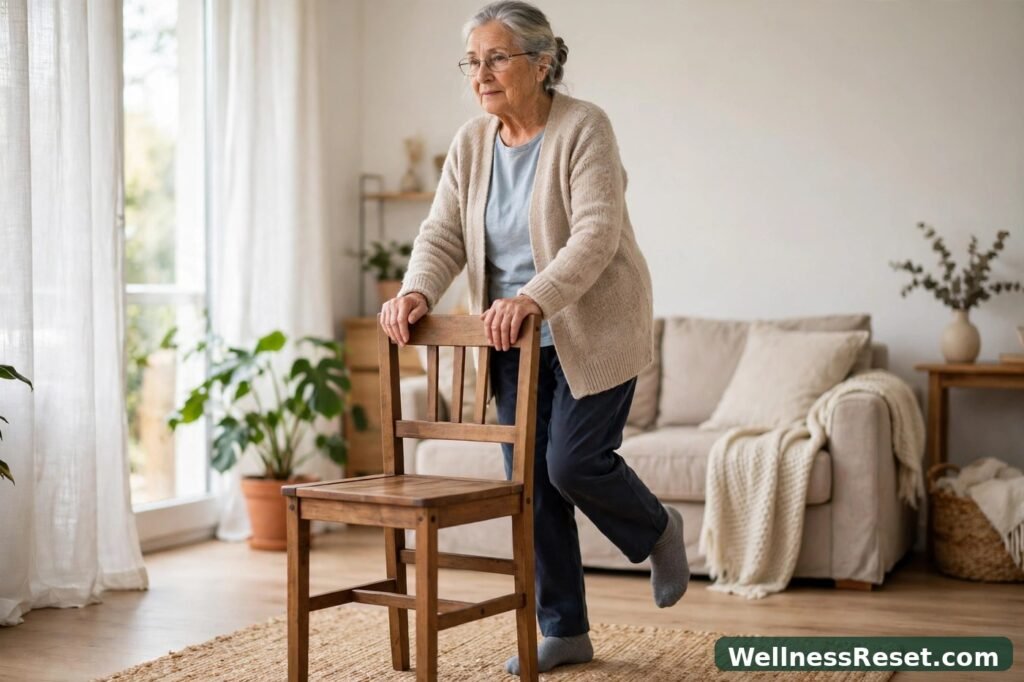
- Chair-Supported Weight Shifts (2 minutes) — Stand behind the chair, both hands lightly on its back. Feet hip-width apart. Shift your weight slowly to the right foot until the left heel lightens — not lifts, just lightens — hold 3 seconds, return to centre, then the other side. Ten shifts each side. Best for: side-to-side steadiness, the direction most falls actually happen in.
- Heel Raises With Chair Support (2 minutes) — Same position, hands lightly on the chair back. Rise onto both heels slowly, hold 3 seconds, lower slower than you rose. Ten times. When that feels easy, try holding one finger — not a full hand — on the chair. Best for: calf strength and the push-off that keeps your stride confident.
- Slow Sit-to-Stand (2 minutes) — Sit on the front half of the chair, feet slightly behind your knees. Lean forward a little, press through your feet, and stand up slowly — no rocking, no launching yourself with your arms. Sit back down just as slowly. Five rounds. Best for: leg strength, and confidence getting up from chairs, cars, and low sofas.
- Feet Together, Eyes Soft (1 minute) — Stand behind the chair, fingertips on its back. Bring your feet close together — not touching, just close. Stand tall for 30 seconds, breathing normally, eyes soft on a fixed spot ahead. Then, if you feel steady, close your eyes for 10 seconds. Open your eyes the second you feel unsure. Best for: the quiet, standing-still steadiness that makes queues and kitchens feel safe again.

The 10-Minute Routine at a Glance
| Move | Time | Support needed |
| Seated Foot Presses | 2 min | Chair seat only |
| Seated March | 2 min | Chair seat only |
| Ankle Circles and Heel-Toe | 2 min | Chair seat only |
| Chair-Supported Weight Shifts | 2 min | Hands on chair back |
| Heel Raises With Support | 2 min | Hands on chair back |
| Slow Sit-to-Stand | 2 min | Chair, hands free |
| Feet Together, Eyes Soft | 1 min | Fingertips on chair back |
That adds up to about 13 minutes if you do everything; skip any move that doesn’t suit you and you have a clean 10-minute daily routine. Once a day is plenty. Balance responds to frequency, not intensity — five gentle days beat one heroic day.
If you want a broader seated practice to pair with this, our 12-pose chair yoga hub covers the full beginner range, and if you are over 60 and just starting out, our chair yoga routine for seniors is paced specifically for older bodies.

A Simple 4-Week Progression
Week 1 — Seated only. Do moves 1–3 every day. Get comfortable with foot presses, the seated march, and ankle work.
Week 2 — Add supported standing. Add weight shifts and heel raises, hands lightly on the chair back. Keep everything slow. If a move makes you grab the chair hard, you are going too fast.
Week 3 — Add sit-to-stand and stillness. Add the slow sit-to-stand and the feet-together stand. Try the 10-second eyes-closed version only if the eyes-open version feels completely steady.
Week 4 — Lighten the support. On moves where you used both hands, try one hand, then fingertips, then — only on your best days — a hovered hand just above the chair back. The chair stays right there.
Keep a tiny log if it helps: one line a day, “did it / felt steady / wobbled on heel raises.” After a month, that log is the proof your confidence needs.
Mistakes That Make Wobbles Worse
Practising balance only when you are tired. Tired bodies wobble more and learn less. Morning or early afternoon, after a glass of water, is the sweet spot.
Holding your breath. Breath-holding stiffens everything and raises blood pressure. If you catch yourself holding your breath, you are pushing too hard. Breathe, slow down, start again.
Gripping the chair like a lifeline. Support is meant to be a safety net, not a crutch. Light hands, and gradually lighter, is how progress actually happens.
Skipping the seated moves. They look too easy to matter, and that is exactly why people skip them. But foot presses and ankle circles are the foundation the standing moves stand on — literally.
Trying one-legged stands too soon. Standing on one leg with nothing nearby is not brave, it is how falls happen. Earn it: weeks of chair-supported work first, and even then, always with the chair within reach.
Final Words
Better balance does not arrive as a dramatic moment. It arrives quietly: the kerb that used to make you hesitate, the kitchen turn you stop bracing for, the walk to the shop that feels ordinary again. Ten minutes a day, a chair you trust, and the patience to move slowly. That is the whole system. Start with the seated moves today — your feet will notice before your confidence does, and your confidence will follow.
General wellness information only — not medical advice. Stop if you feel dizzy, and check with your doctor about any balance disorder or repeated falls.
FAQ
How long before I notice a difference? Most people feel steadier on sit-to-stand and small turns within 2–3 weeks of daily practice. Bigger changes — like confidence on uneven ground — usually take 6–8 weeks. Frequency matters more than effort.
Can I do this if I have already had a fall? Yes, gently — but check with your doctor first, especially if you have fallen more than once or you don’t know why you fell. Start with only the seated moves and add standing moves slowly, always with the chair.
Do I need special equipment? No. A sturdy dining chair, a non-slip surface, and shoes with grip or bare feet. That is the entire kit list.
Is chair yoga enough, or do I need “real” balance training? For most people, this is real balance training. The chair removes the fear, not the work. If you want more challenge later, a physiotherapist can add to this foundation.
What if I feel dizzy during a move? Stop, sit down, and breathe normally until it passes. Dizziness is a signal, not a failure. If it happens often, talk to your doctor before continuing.
Barefoot or shoes — which is better? Both work, and barefoot has one small advantage: your feet feel the floor directly. If your floors are cold or your feet are sensitive, grippy socks or soft-soled shoes are fine. Avoid smooth socks on a smooth floor.